This is a rather long essay on my experience with various rain capes over the years, and how I came to make them myself.
 |
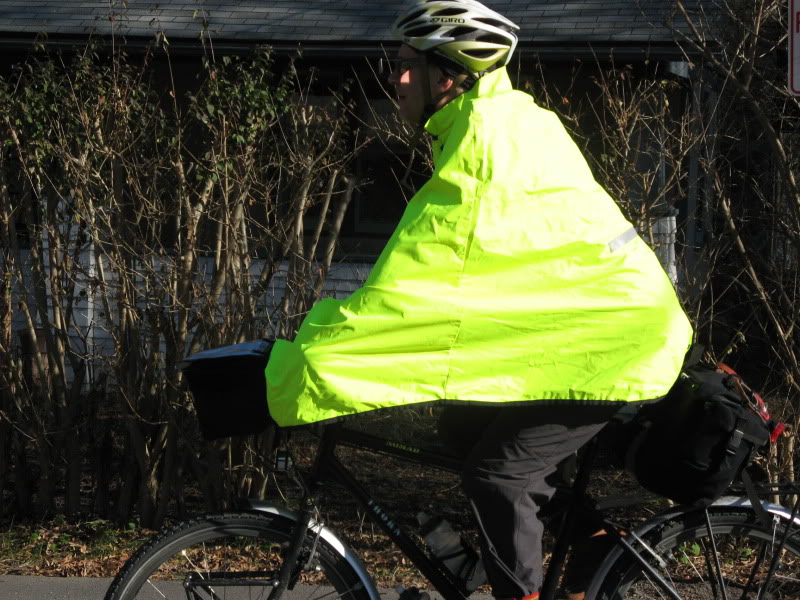
| Here is a guy who is doing it right. Bike has fenders; cape drapes over handlebars covering hands and legs, and it fits him very well with minimal flapping in the wind. Carradice DuxBack cape is pictured. |
 |
| Mine did not come with the optional hood |
After a 2 or 3 years with a LOT of use, the Ultrex coating started to peel off at the areas of the most abrasion; the hands and the collar. The cape was always flappy, and was starting to look a bit tattered so Time to look for something new, and I found the Carradice Pro Route cape, a bright yellow cape, to be a good choice. It is available from Carradice in the UK, and may be found with a supplier in the US.
 |
| A properly applied Carradice Pro route cape. This person likes it so much, he wears it in dry weather. |
The hood comes attached to it. It’s an odd looking conical thing that limits vision and seems too small to accommodate a helmet, so I just cut it off. While riding in the rain I found it to be quieter and less flappy. Like the CAT cape (and unlike the Pro-Route cape) it was not tight around my waist and hands on my drop-bar bike. The cut was more generous. It has straps that cinch around the waist and hook over the thumbs or brake levers, which help keep the cape in place. These straps proved unnecessary except in higher winds, because the fabric was heavier. I loved it! It was easily rolled up into a lump that I could fit somewhere. Not that much bigger a load than the ProRoute or CAT cape.
After a year or two of using the DuxBack intermittently, I had a ride in a heavy rain and over the course of an hour got rather wet! Water apparently seeped in thru the fabric and along some seams. This garment is meant to be waxed now and then, and I guess it was time. Carradice makes their own wax, which is not easily found in the US, but I used a fabric wax bar that I found locally. A great how-to on re-waxing the garment is here. The next heavy rain event showed that the cape was (mostly) water tight. But the way water gathers on the waxed cape is different than on a DWR surface. Instead of balling up and rolling off, beads of water tend to crouch and cling. The cape stays wet much longer, and when water gets inside it, it will stay wet inside. Putting on a cold wet cape is not fun. I can hang the wet DuxBack cape up in the cold dark garage, and it will still be wet 3 days later. I still loved my waxed cape, but I couldn’t help thinking that there was a better material out there.
Cleverhood is a company in Rhode Island that currently specializes in making rain capes in a variety of styles. Although I have not tried them, I would suggest the reader check them out if making your own is not something thats going to happen.
Electronic devices mounted on the handlebars will not be visible. (no way around this)
Sunbrella fabric is used for outdoor furniture applications, awnings, and boat covers. Casting about for ideas, I thought of an umbrella we have that goes with our outdoor table. It’s made of Sunbrella fabric, and it had been out there for years in the elements. I tested it by pouring a cup of water into a fold. The water made a giant bead and just stayed there. An hour later, nothing had changed. It was totally dry underneath. Maybe this is the rain cape material I am looking for? Time to think outside the box.
Then it dawned on me. A fabric meant for standing around or walking in is not the best choice for an activity like riding a bike at 15 mph. Now it seems so obvious.
The regular Sunbrella fabric for furniture and pillows is quite supple and about 8oz/sq yd. That’s what the umbrella I tested was made of. It’s breathable and remarkably water resistant. Then there is the Sunbrella fabric for marine applications (boat coverings and awnings) which is substantially stiffer because of the application of a resin. From this class of Sunbrella fabric, there is the regular (9.5 oz sq yd), the Sunbrella plus (which has an added polyurethane coating underneath to increase water resistance, about 10 oz sq yd), and Sunbrella supreme, which is completely waterproof/non-breathable and a rather heavy 13 oz sq yd. Then there is the Sunbrella Seamark, which is also a water impermeable fabric; and rather heavy at 16 oz per sq yd. All the Sunbrellas are breathable fabrics except for the supreme and seamark versions.
I ordered a couple yards (60″ wide) of the Sunbrella Plus, and it came in the mail a few days later. I opened the package and found it to be some rather stiff fabric! No flapping around with this stuff. The intended exterior of the fabric (slightly darker) allowed water to bead up and roll off mostly. A film of water would remain on some of the outside material. But it IS water-tight; no water could make it thru. The other side of the fabric is completely hydrophobic. All the water balls up and rolls off, leaving the material completely dry. I liked this because it means the cape will never be wet on the inside. A bit of gravity will make the inside of the cape as dry as the Sahara.
Since the DuxBack had the best fit for me, my thought was to copy it’s design pattern. I measured the 4 panels of the cape and transferred the measurements to the new fabric.
 |
| Carradice Duxback size large. These are my measurements. Hems not included. Not to scale. |
Pretty simple construction. A long front panel, shorter back panel, and 2 side wings that are mirror images of each other. I added a half inch to each of the above measurements so I had a quarter inch hem.
 |
| Some chalk lines going in.. DuxBack hanging in the background. |
 |
| The basic sewn cape. |
Next I put reflective tape around the lower edge and collar area. During my first rainy ride, I found that the seams did not leak water. Not a drop. If I find that a seam sealer is needed, I will probably use Iosso sealer, which is what they recommend.
 |
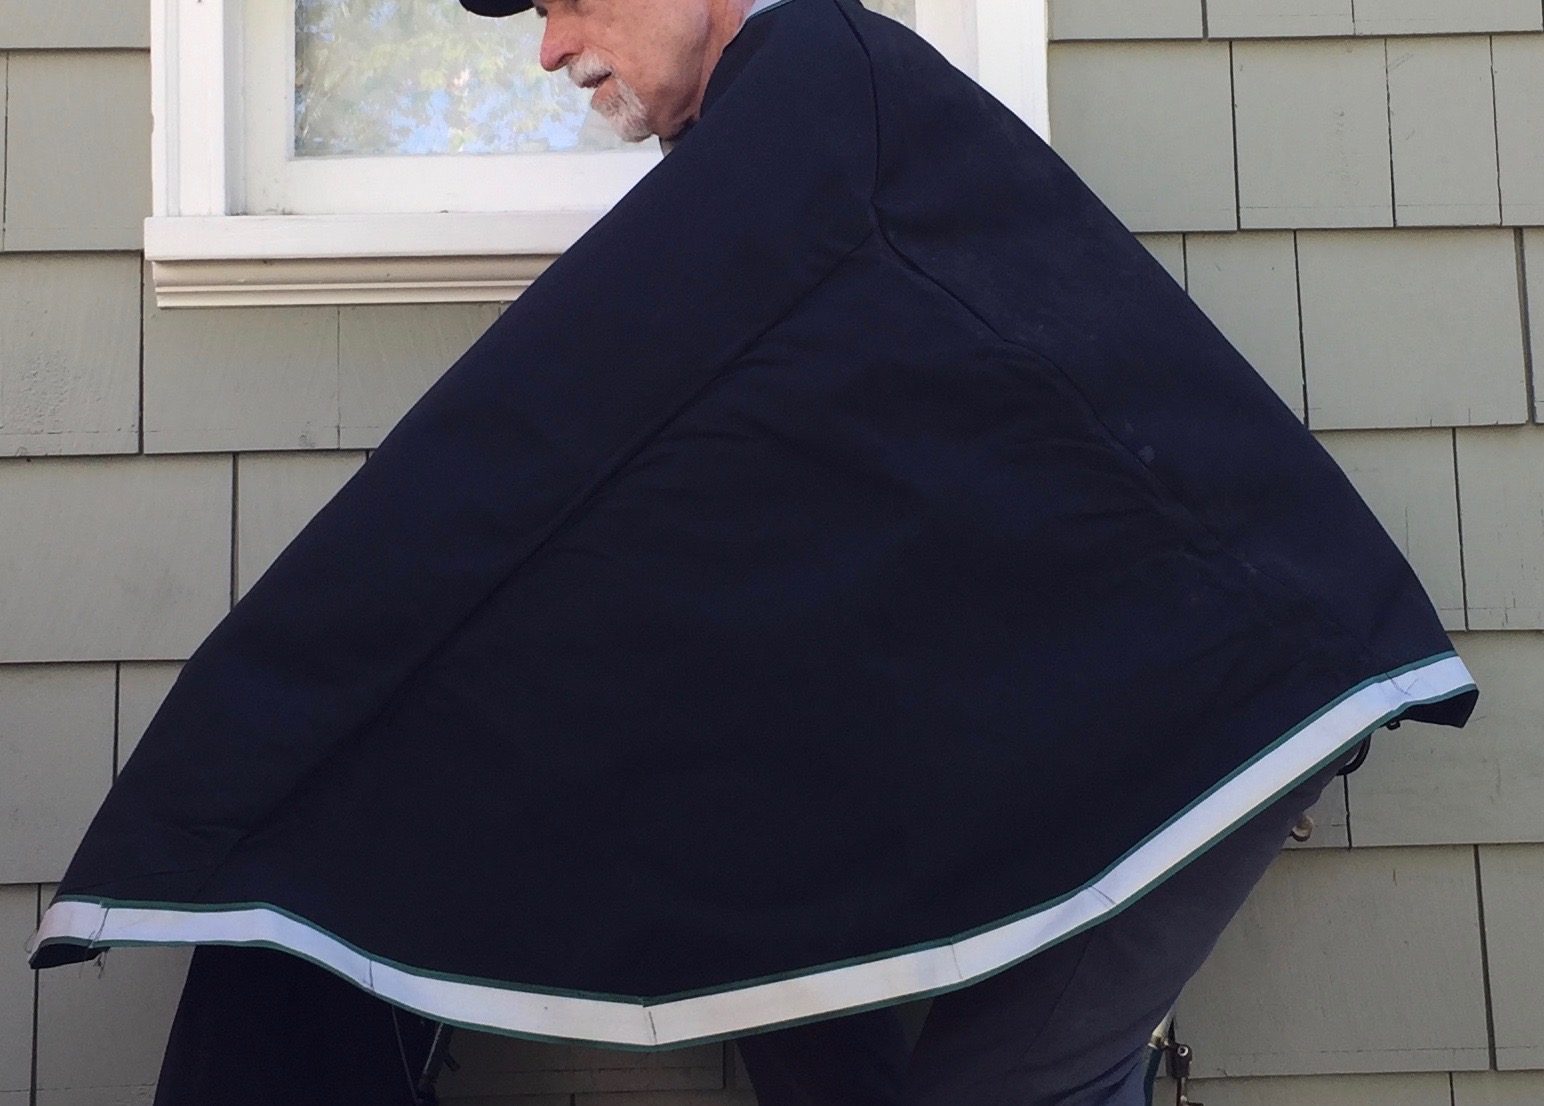
| Reflective tape sewed on. Draped over chair. The picture makes it clear that this is not a saggy or flimsy cape. |
 |
| The cape folded up. It won’t quite fit in my pocket… |
On a ride using other capes I would normally see sweat/condensation/moisture gathered the inside of the cape after a ride of an hour or so. At least when the cape was new, there were just a few beads of water inside of the Sunbrella cape after a long rainy ride. And they fell away just by holding it upright.
I found there was more airflow as well. The nature of the stiffer Sunbrella fabric makes it tend to stand off the skin and clothing, allowing much better air circulation. This difference is HUGE and cannot be overstated. You really have to try it to understand.
So far so good with the new Sunbrella cape, but many more wet winter commutes and rides is what I need to really know if it is truly the bees knees….
Update: after a few years.
There have been several wet winters. How is this cape on rides and commutes in steady, penetrating, light rains or heavy downpours?
This cape blows all the others I have used out of the water.
It does lose some water repellency over the course of a year or two with regular use. Over time, water does not bead up like it did when new, but it tends to spread across the surface and soak in. And it also seemed like there was some leaking through in the front of the cape. So I used the Sunbrella recommended fabric waterproofing renewal spray, called 303 fabric guard. First I cleaned the cape with a mild soap, and then on a warm day I sprayed it on the fabric outside with its pump sprayer, staying downwind of the strong fumes. It dried quickly with no residual odor. The cape was then functionally like new, with water flowing off the fabric in beads, and not soaking in at all. Now I treat my cape with fabric guard once a year, or every other year.
The feeling of dread with approaching precipitation has been replaced with a sense of (sometimes) looking forward to enjoying it! I will never go back to lighter weight materials for a rain cape again.
Update, 2021, making a new cape with the heavy Sunbrella Seamark fabric:
I thought to take this cape to the next level may be to use Sunbrella supreme fabric, which is completely waterproof and has a flocked interior finish to the fabric. I did get a sample of Sunbrella supreme and found that the flocked inner surface would hold water like a sponge. So it is not an appropriate material for a cape.
The heaviest fabric in the sunbrella line is Sunbrella seamark, so I got a couple yards and I made it into a cape. It is 16 oz per square yard (compared to 10 oz for the plus). So this cape is heavy. Nonetheless it sewed up fine with the regular sewing machine and a heavy duty needle meant for sewing jeans. It weighed about 34 oz when done.. That’s as heavy as a lightweight solo tent!
Is it worth the extra weight? After a few rides in windy storms, I do like the extra sturdiness. Winds hardly affect it at all. It will not necessarily need any 303 fabric guard treatment because it is totally waterproof. The inner surface seems to be PVC coated, similar to the Ortileb bike bag material. It is completely waterproof and not breathable, but I found the ample air circulation underneath makes up for all that. Staying dry with this cape is just as good if not better than the sunbrella plus material, which is better than any cape I have ever used.
I am very happy with the Sunbrella plus capes, but this one is even better in terms of durable weather protection. If I know heavy rain is likely to occur, I prefer this cape to the Sunbrella plus capes, but either one would do just fine. This Sunbrella seamark cape is definitely the one I would want to have over me heading into a Colorado hailstorm! It is cape I usually take with me these days, especially on rides where heavy rain is a possibility.

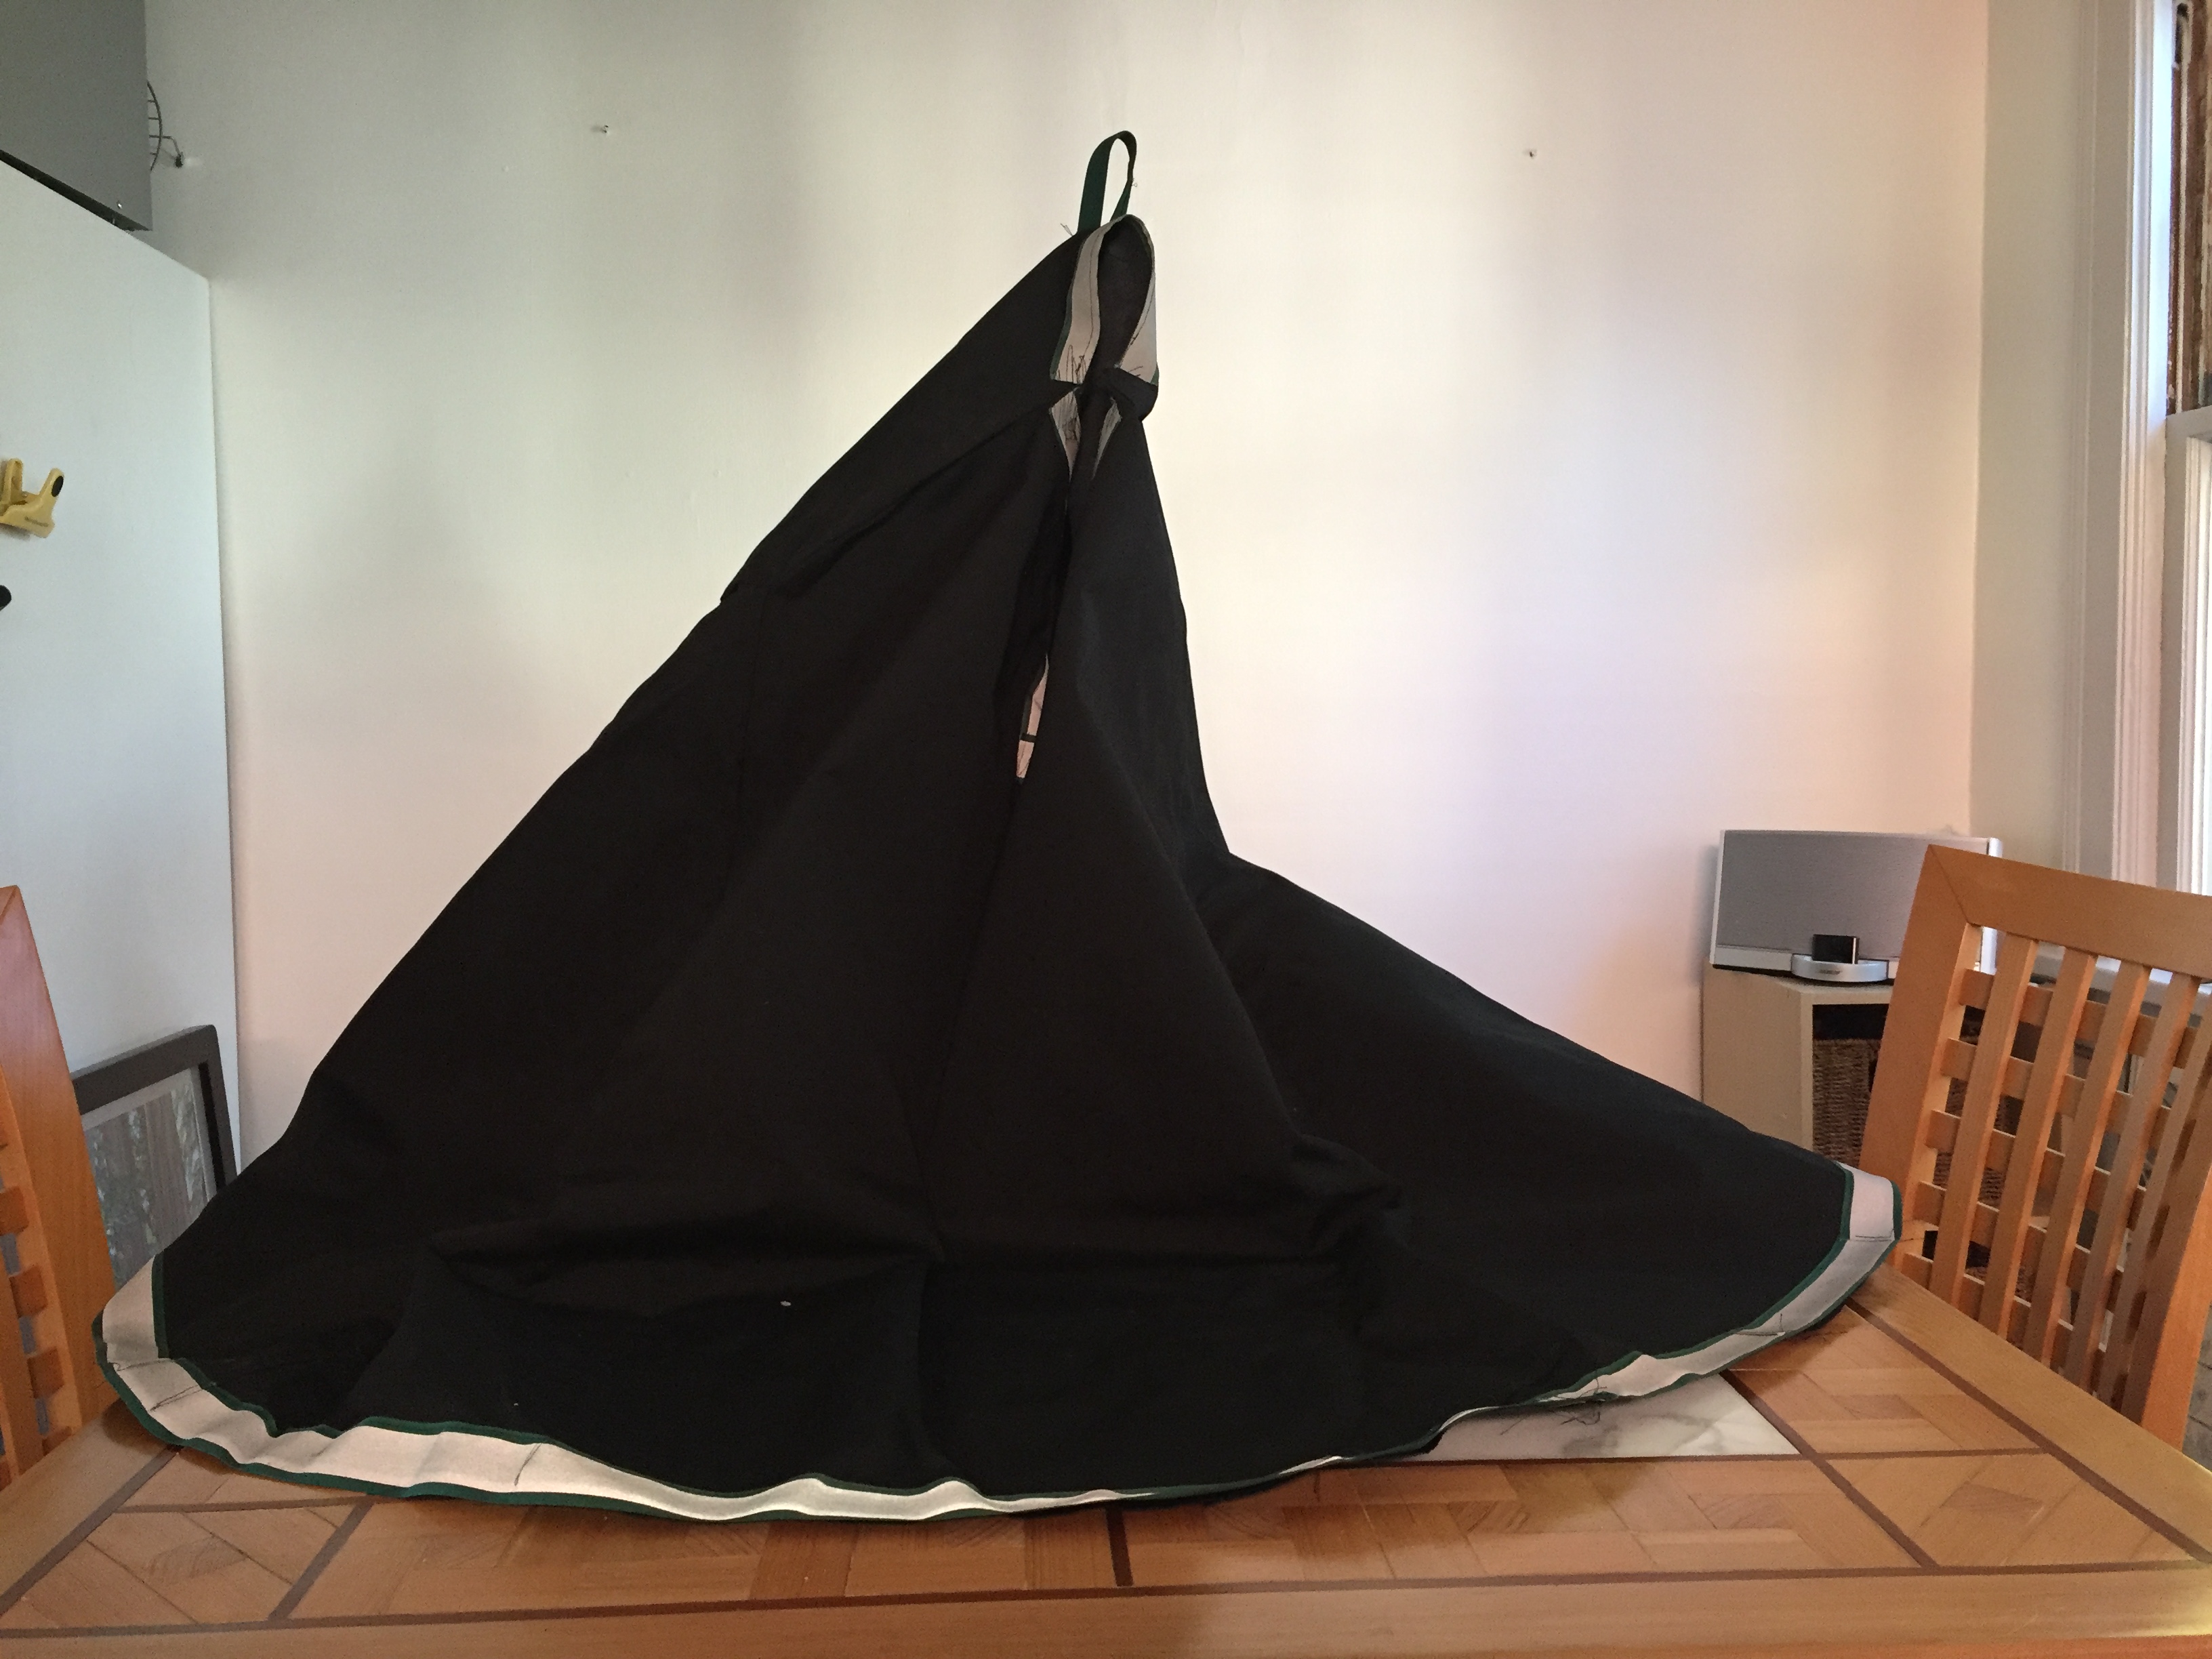
The drape of this 34oz Sunbrella Seamark cape (pictured above) looks good and it is easy to move around in. I can use my hands and do things without feeling restricted. My wife thinks it looks like a tablecloth but I disagree.

END

Hello Drew.
Thanks for the information about making your own cape! I decided to make a cape similar to yours. Sunbrella fabric was a bit expensive in the UK, so I used some 1000 denier cordura nylon, PU-coated, which I bought here: https://www.profabrics.co.uk/collections/heavy-weight-water-resistant-outdoor-camping/products/1000-denier-cordura?variant=8358970883. I think it is vaguely similar to what you used.
I found the cape too short at the front – it wouldn’t stay put over my hands. (I am 6′ 3″, and ride quite an upright bike). I added an extra foot of material at the front, and right-angled triangular panels at the sides, so that the additional panel at the front is vertical. This does a very good job of stopping the cape coming off the handlebars, and also keeps my legs fairly dry.
As you say, the heavier, stiffer material really makes the cape stand off the rider and avoids a sweaty back. I’m now very pleased with the cape, and I wouldn’t have thought of doing it without your page!
LikeLike
Hi Stephen, thanks for your comment. Sunbrella is expensive! I think it resists water better than PU coated nylon though. It has been totally waterproof for me for the first 2 years. But it started to leak a bit at the areas that see the most wear (at the handlebars) after 2 years of a lot of use. I treated it with the 303 fabric guard, and that restored its water-shedding ability. You can treat cordura to make it shed water with various applications too. I may try a heavy nylon for a future cape. I did make another sunbrella cape; will put up a post about it sometime.
LikeLike